Designing a garden that thrives starts with understanding your land. Jumping straight to plant selection without analyzing your property’s natural features can lead to costly mistakes like poor drainage, erosion, or unhealthy plants. Instead, focus on three key areas:
- Elevation and Slope: Observe how hills, dips, and flat areas affect water flow and sunlight.
- Water Patterns: Identify natural and artificial water sources, drainage issues, and erosion risks.
- Soil Quality: Test for pH, nutrients, and drainage to match plants with the right conditions.
By working with your land’s natural tendencies, you can avoid common pitfalls and create a garden that’s easier to maintain and more productive in the long run.
Landscape Tutorial: Site Analysis
Quick Tips for Landform Analysis
- Walk Your Land: Observe water pooling, dry spots, and shadows during different seasons.
- Test Your Soil: Check pH, nutrients, and drainage with a simple soil test or through a local extension office.
- Map Water Flow: Watch how rain moves across your property to spot erosion or standing water.
- Understand Microclimates: Identify sunny, shady, windy, or frost-prone areas for better plant placement.
- Plan for Slope Management: Use terraces, swales, or berms to control water and prevent erosion.
A detailed site analysis saves time, money, and frustration by aligning your garden design with your land’s natural features.
Evaluating Basic Land Features
Before diving into garden planning, take a close look at your land's shape, soil, and climate. This initial assessment is crucial for avoiding common planting mistakes and setting up a garden that flourishes year after year. At Thrive Lot, experts stress the importance of understanding your land's natural characteristics as the foundation for successful garden design. These evaluations also pave the way for considering how water flows and slopes impact your space.
Understanding Your Land's Shape
The shape and layout of your property - its hills, dips, and flat areas - play a big role in determining how water moves and where plants will thrive. Walk your property at different times of the day and year to observe water pooling, dry spots, and shifting shadows.
Take note of areas with clear slopes, flat sections, or natural low points. Even a slight slope can influence how water drains, while steeper areas might require solutions like terracing to prevent erosion.
Pay attention to features like large rocks, mature trees, or natural windbreaks. These elements can create microclimates - small areas with unique growing conditions. For instance, a large boulder might provide a warm, sheltered spot for heat-loving plants, while a shaded area near a building could stay cooler or more humid. Keep in mind that these conditions can change with the seasons, such as when trees gain or lose their leaves.
Testing Your Soil
Healthy soil is the backbone of any thriving garden, and its quality can vary across your property. Start with a basic soil test to check for pH levels, nutrients, and structure. You can dig a few 12-inch holes around your yard to observe differences in color, texture, and moisture. Many county extension offices offer affordable soil testing services, or you can pick up a home test kit at a garden center.
To identify your soil type, pay attention to its texture and how quickly it drains. For a simple drainage test, fill a 12-inch-deep hole with water. If the water takes more than 24 hours to drain, it could indicate poor drainage, which might lead to problems like root rot. On the other hand, if the water drains too quickly, you may need to add organic matter to help the soil retain moisture.
Check for compacted soil by trying to push a screwdriver into the ground. If it’s tough to get the tool several inches deep, the soil may be too dense for roots to grow properly. Once you’ve assessed your soil, you’ll be ready to factor in how climate and sunlight shape your garden’s potential.
Checking Climate Conditions
While knowing your USDA hardiness zone is a good starting point, it’s equally important to explore the microclimates on your property. Features like elevation, nearby buildings, and natural barriers can all influence local weather patterns. Keep track of temperature changes and sun exposure over time.
Sunlight can vary greatly, even within a small yard. Use a simple hand-measuring method to estimate how long different areas receive light each day. This will help you pinpoint the best spots for plants that thrive in full sun.
Observe how wind moves across your property by watching leaves or lightweight objects. Areas with strong winds may need windbreaks to shield delicate plants, while spots with little airflow could be more prone to moisture-related problems. Also, monitor how rainfall flows across your land. Some sections might get extra water from roof runoff or dense tree cover, while others stay dry. Lastly, watch for frost pockets - low-lying areas where cold air settles. These spots can experience frost even when the surrounding areas don’t, which could impact plant health and growth.
Understanding Water Movement
Water plays a crucial role in shaping plant health and maintaining soil stability in your garden. The way it flows, collects, and drains can significantly impact plant growth and the integrity of your soil. By observing these natural patterns, you can create a garden that works in harmony with water's behavior. Start by identifying both natural and man-made water sources on your property.
Finding Water Sources
Look for natural water features like streams, seasonal creeks, or springs. Even intermittent water sources can enhance moisture levels and create beneficial microclimates.
Pay attention to signs of underground water. Areas where vegetation stays green longer or native plants thrive can indicate hidden moisture. Similarly, seasonal wet spots that appear after rain or snowmelt might reveal drainage patterns. Keep in mind that water sources often change with the seasons, influencing moisture levels throughout the year.
Don’t overlook artificial water sources like downspouts, gutters, or roof runoff. Roofs can collect a substantial amount of rainwater, so managing this runoff is essential. Properly directing it can prevent erosion and even provide water for irrigation during dry spells.
Seasonal changes also play a big role in water behavior. Spring snowmelt might create temporary streams, while summer storms can lead to sudden, heavy flows. Understanding these patterns will help you prepare for both water surpluses and shortages.
Checking Drainage and Erosion
Monitoring your landscape during and after heavy rains is key to identifying drainage issues. Look for standing water, muddy areas, or unexpectedly dry spots.
A simple way to test drainage is to dig a small hole, fill it with water, and observe how quickly it drains. Slow drainage often points to clay-heavy soil, while overly fast drainage could mean the soil struggles to retain moisture, which can be problematic for plants.
Erosion is another critical factor to watch for. Signs like gullies, exposed roots, or missing topsoil indicate that water is moving too quickly through certain areas. Check for sediment deposits where soil and organic material accumulate after storms - these could be natural collection points that can be optimized for better water management.
Pay extra attention to areas around hard surfaces like patios, driveways, and walkways. These surfaces shed water quickly, often leading to concentrated flows that can cause erosion or localized flooding in nearby garden beds. By understanding these dynamics, you can make targeted adjustments to your landscape.
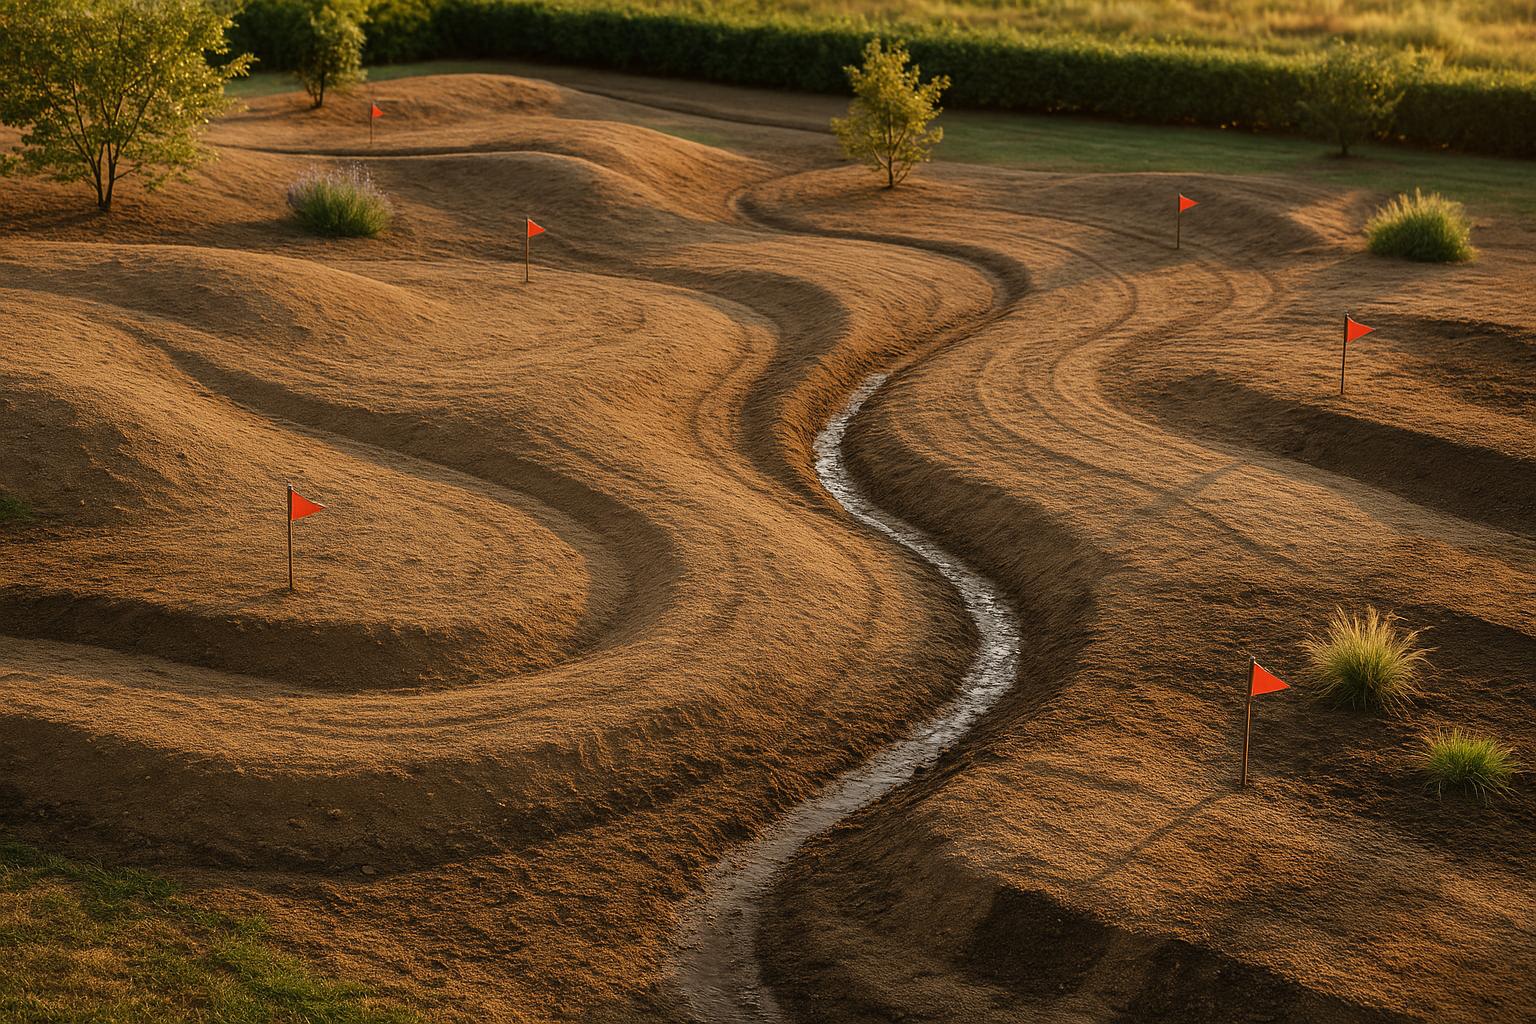
Adding Earthworks Features
Earthworks can transform problematic water patterns into opportunities. These features address drainage challenges and erosion risks while improving water management. For example, swales - shallow, planted depressions - can capture runoff and allow it to slowly seep into the soil. This not only reduces erosion but also provides moisture to nearby plants. Be sure to design swales to suit your specific landscape.
Berms, or raised mounds of earth, are another useful tool. They can redirect water flow and create elevated planting areas with better drainage. Place berms on the uphill side of areas you want to protect, or use them to channel water toward natural collection points like rain gardens.
On steeper slopes, terracing is an effective solution. By building a series of level planting areas, terraces slow water movement and encourage infiltration. Make sure the design aligns with the steepness of the slope.
Rain gardens and bioswales combine functionality with aesthetics. Positioned to capture runoff from roofs, driveways, or sloped areas, these features are designed to handle heavy rainfall without overflowing.
To further improve water management, consider using permeable materials for pathways and patios. Options like gravel, permeable pavers, or stepping stones allow water to soak into the ground naturally, reducing excess runoff.
The key to effective water management is to start small. Implement one or two features and observe how they perform across different seasons. This trial-and-error approach will help you refine your strategy based on what works best for your garden. If you're looking for more guidance on sustainable garden design and water management, Thrive Lot offers expert advice to help you along the way.
sbb-itb-1d926cd
Working with Slopes and Elevation
Building on the knowledge of water flow and soil conditions, understanding slopes and elevation is key to fine-tuning your garden's layout. These factors shape microclimates, which directly impact how well your plants will thrive. For example, temperature decreases by about 3.5°F for every 1,000 feet you go up in elevation. This means valleys and lower areas are more prone to frost, while higher spots are often windier, which can dry out plants. Knowing these differences helps you place plants where they'll grow best.
Creating Microclimates with Elevation
Cold air tends to settle in low-lying areas, making valleys and dips more likely to experience frost. If you're working with plants sensitive to cold, it's wise to avoid these spots. On the other hand, higher elevations are more exposed to wind, which can dry out plants like evergreens and woody shrubs. Adding windbreaks, such as hardy shrubs or trees, can shield more delicate plants from these harsh conditions.
The direction of a slope also plays a big role in shaping the growing environment. South-facing slopes are typically warm and dry, while north-facing ones are cooler and shadier. East-facing slopes get gentle morning sun, making them ideal for plants that prefer milder heat, whereas west-facing slopes endure the intense heat of the afternoon sun.
| Slope Direction | Light Conditions | Best Plant Types |
|---|---|---|
| South-facing | Full sun, warm and dry | Drought-tolerant and sun-loving plants |
| North-facing | Partial to full shade, cooler | Shade-tolerant and moisture-loving plants |
| East-facing | Morning sun with moderate heat | Plants needing sun but avoiding intense heat |
| West-facing | Afternoon sun, warmer | Heat- and sun-tolerant plants |
Creating Your Garden Plan from Land Analysis
Once you've assessed your land's slopes, drainage, soil, and microclimates, it's time to turn that information into a garden design. This step involves shaping your site analysis into zones and features that fit together to create a practical and enjoyable outdoor space.
Drawing Functional Diagrams
Start by creating a base map that outlines the key features of your property. Use graph paper or a drawing app to sketch your lot boundaries, and then add major details like steep slopes, wet areas, existing trees, and slope directions. Highlight areas that get full sun versus shade, and note where water naturally flows during heavy rainfall.
From there, divide your space into design zones based on your analysis. For example, place vegetable gardens in areas with good drainage, easy access, and plenty of sunlight. Seating areas should be on stable, well-drained ground with scenic views, away from frost-prone spots or strong wind. Water features fit best in natural low points where water already tends to collect, while storage areas can occupy less desirable locations, like north-facing slopes or poorly drained sections.
As you sketch your layout, think about how the different spaces will connect. Keep frequently used areas, like herb gardens, close to the house, while less-visited features, such as compost bins, can be farther away. Design pathways that follow the natural contours of your land - this not only makes them more practical but also helps prevent erosion.
Your diagram will serve as the foundation for long-term design decisions.
Planning for Long-term Success
With your zones mapped out, focus on strategies to create a garden that thrives over time. Your earlier land analysis can guide choices that save effort and resources in the long run.
Native plants are a great starting point because they’re already suited to your local soil, rainfall, and temperature conditions. For example, if your analysis shows sandy, fast-draining soil, opt for drought-tolerant natives instead of plants that require constant watering.
For water conservation, use your knowledge of natural water flow. Rain gardens work well in areas where runoff collects, and water-loving plants can thrive in those spots. On erosion-prone slopes, consider planting groundcovers with strong root systems or even terracing to slow water movement.
Soil improvement can also be targeted. If you’ve identified compacted clay, think about using raised beds or adding organic matter. Sandy areas, on the other hand, might benefit from mulching to build organic content over time. Focus your efforts on spots with the highest planting activity.
If your property has particularly tricky features, consulting professionals can be a smart move. Thrive Lot’s network of local experts, for instance, can help translate challenging conditions into workable solutions, ensuring your design works with the land rather than against it.
Completing the Garden Layout
With your diagram and planning strategies in hand, finalize your layout by incorporating hardscape, plant zones, and maintenance needs. Hardscape elements should match your land’s conditions. For example, retaining walls can create level planting areas on slopes, while drainage systems should follow the natural water flow patterns you’ve already mapped out. Pathways on steep slopes should follow contour lines to make walking easier and minimize erosion.
Group plants based on their water and light requirements. Wind-sensitive plants should go in sheltered spots, while heat-loving varieties will thrive on warm, south-facing slopes.
Develop a maintenance schedule that reflects your site’s unique conditions. Erosion-prone areas may need regular replanting, while spots with seasonal water flow might require different care during wet and dry periods. Steep sections could call for specialized equipment or professional help for upkeep.
Finally, create a timeline for implementation that aligns with seasonal conditions and your land’s challenges. Schedule major earthwork for dry periods to avoid damaging the soil, and plan planting for times that give new plants the best chance to establish themselves. Leave time for soil improvements to take hold before adding plants that rely on better growing conditions.
The ultimate goal is a garden design that feels effortless and sustainable because it works in harmony with your land’s natural tendencies. By aligning your plan with your property’s characteristics, you’ll spend less time fixing problems and more time enjoying a thriving outdoor space.
Key Steps for Successful Landform Analysis
To truly understand your land and make informed design decisions, a structured approach to landform analysis is essential. Start by recording the physical features of your property. This might include measuring slopes - using tools like a smartphone app or a clinometer - identifying high and low points, and observing how water flows during rainfall. These observations form the groundwork for every decision you'll make moving forward. Once you’ve mapped out these basics, the next step is to examine the soil to ensure it aligns with your design goals.
Soil testing plays a critical role here. A simple percolation test can reveal how quickly water drains through the soil, which directly influences plant choices and determines whether you’ll need raised beds, drainage fixes, or specific soil amendments to achieve your vision.
Understanding water movement patterns is another key element, and it requires observation over time and across seasons. Watch how water pools and flows after rainstorms to identify areas prone to runoff or standing water. These insights will help you decide where to place rain gardens, implement erosion control measures, or grow moisture-loving plants that can thrive naturally in those conditions.
Next, consider microclimate mapping, which combines elevation, slope direction, and existing vegetation to reveal the unique growing conditions on your property. For example, south-facing slopes are typically warmer and drier, while north-facing areas remain cooler and more humid. These differences can dictate which plants will flourish in each area. Don’t forget to account for wind patterns, frost pockets, and natural shelters, as these factors also play a significant role in shaping your landscape’s potential.
The final step is turning your observations into design zones. Group high-maintenance features, like vegetable gardens, in easily accessible areas with good soil and drainage. Meanwhile, reserve challenging spots - such as steep slopes or poorly drained areas - for low-maintenance native plantings. By aligning your design with your land’s natural tendencies, you’ll create a space that works with nature rather than against it.
Throughout this entire process, documenting your findings is crucial. Take photos during different seasons, sketch out observations, and jot down notes about changes you notice over time. This record will not only guide your current design but also serve as a valuable reference for future maintenance or when collaborating with professionals. Landscape experts can use your detailed notes to craft sophisticated solutions for areas that may seem tricky to manage.
Investing time in thorough landform analysis now will save you from costly corrections down the road. Properties that undergo this careful planning process are far more likely to support thriving, low-maintenance gardens that feel effortless to care for in the years to come.
FAQs
How do I identify and make the most of microclimates in my garden?
Microclimates are those little pockets in your garden where conditions differ from the surrounding areas. These can include warmer spots near walls, cooler shaded corners, or areas shielded from strong winds. To pinpoint them, take note of how sunlight, shade, wind, and moisture shift throughout your yard during the day and across the seasons.
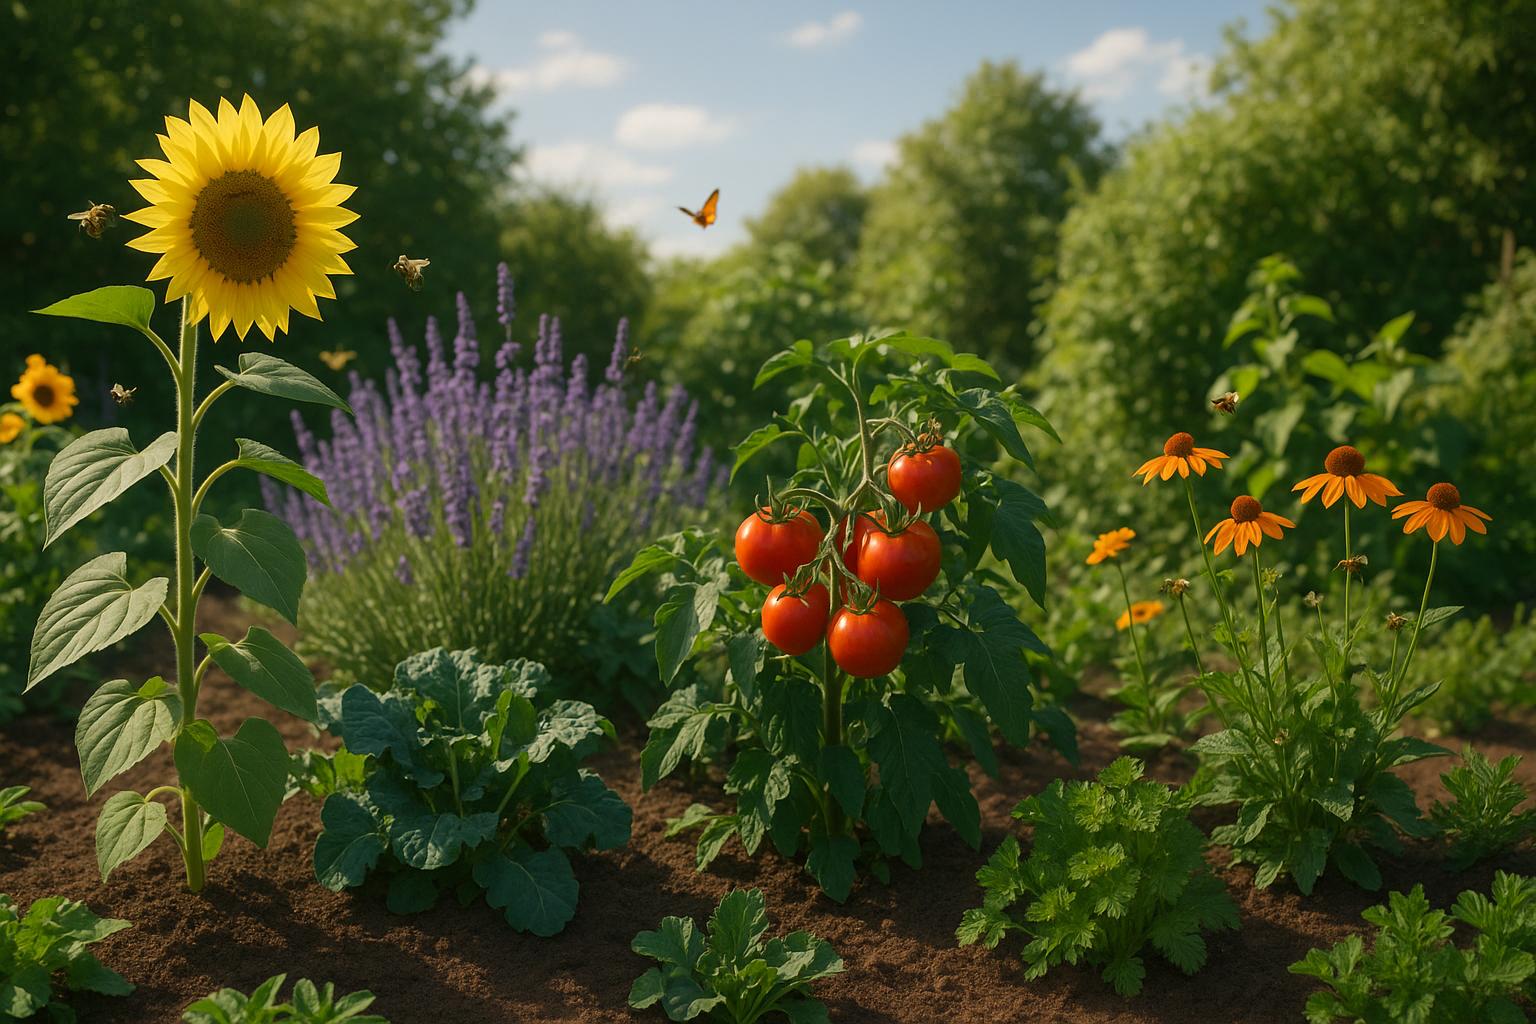
Once you've identified these microclimates, you can use them to your advantage by selecting plants that thrive in those specific conditions. For instance, sunny and sheltered areas are perfect for heat-loving crops like tomatoes, while shaded spots can be ideal for ferns or other plants that prefer less light. You can also create or tweak microclimates by adding features like windbreaks, shade covers, or raised beds, giving you the chance to grow a broader range of plants and even extend your gardening season.
How can I manage water flow and prevent erosion in a sloped garden?
To keep a sloped garden in good shape and stop erosion, it’s all about stabilizing the soil and managing water runoff. One effective approach is to plant dense ground covers, shrubs, and trees. These plants not only hold the soil in place but also soak up extra water, reducing the risk of erosion.
Another option is to build terraces or retaining walls. These structures slow water down as it moves downhill, helping to prevent soil from washing away. You could also reshape the slope slightly, creating gentler angles, and install drainage systems to direct water away from areas that are prone to damage.
For added protection, use materials like erosion control blankets or mulch to cover the soil. These methods work hand in hand to reduce erosion while keeping your garden healthy and thriving.
How can I test my soil and use the results to improve my garden?
To check your soil's health, start by collecting samples from a depth of 6–8 inches in different parts of your garden. Clear away any roots, rocks, or debris before testing. You can mix the samples together for a general analysis or keep them separate if you want to focus on specific areas. For testing, a DIY kit works well for a quick pH check, but for more detailed nutrient information, consider sending the samples to a local extension service or a professional lab.
After reviewing the results, adjust your soil as needed. If the pH is off, you can raise it with lime or lower it with sulfur. For nutrient deficiencies, enrich the soil with compost or targeted fertilizers. By testing and fine-tuning your soil regularly, you'll create an ideal growing environment for your plants.