Want to boost your garden’s health naturally? Build an insect hotel! This simple structure provides shelter for beneficial insects like pollinators and pest controllers, helping your garden thrive without chemicals.
Key Benefits of an Insect Hotel:
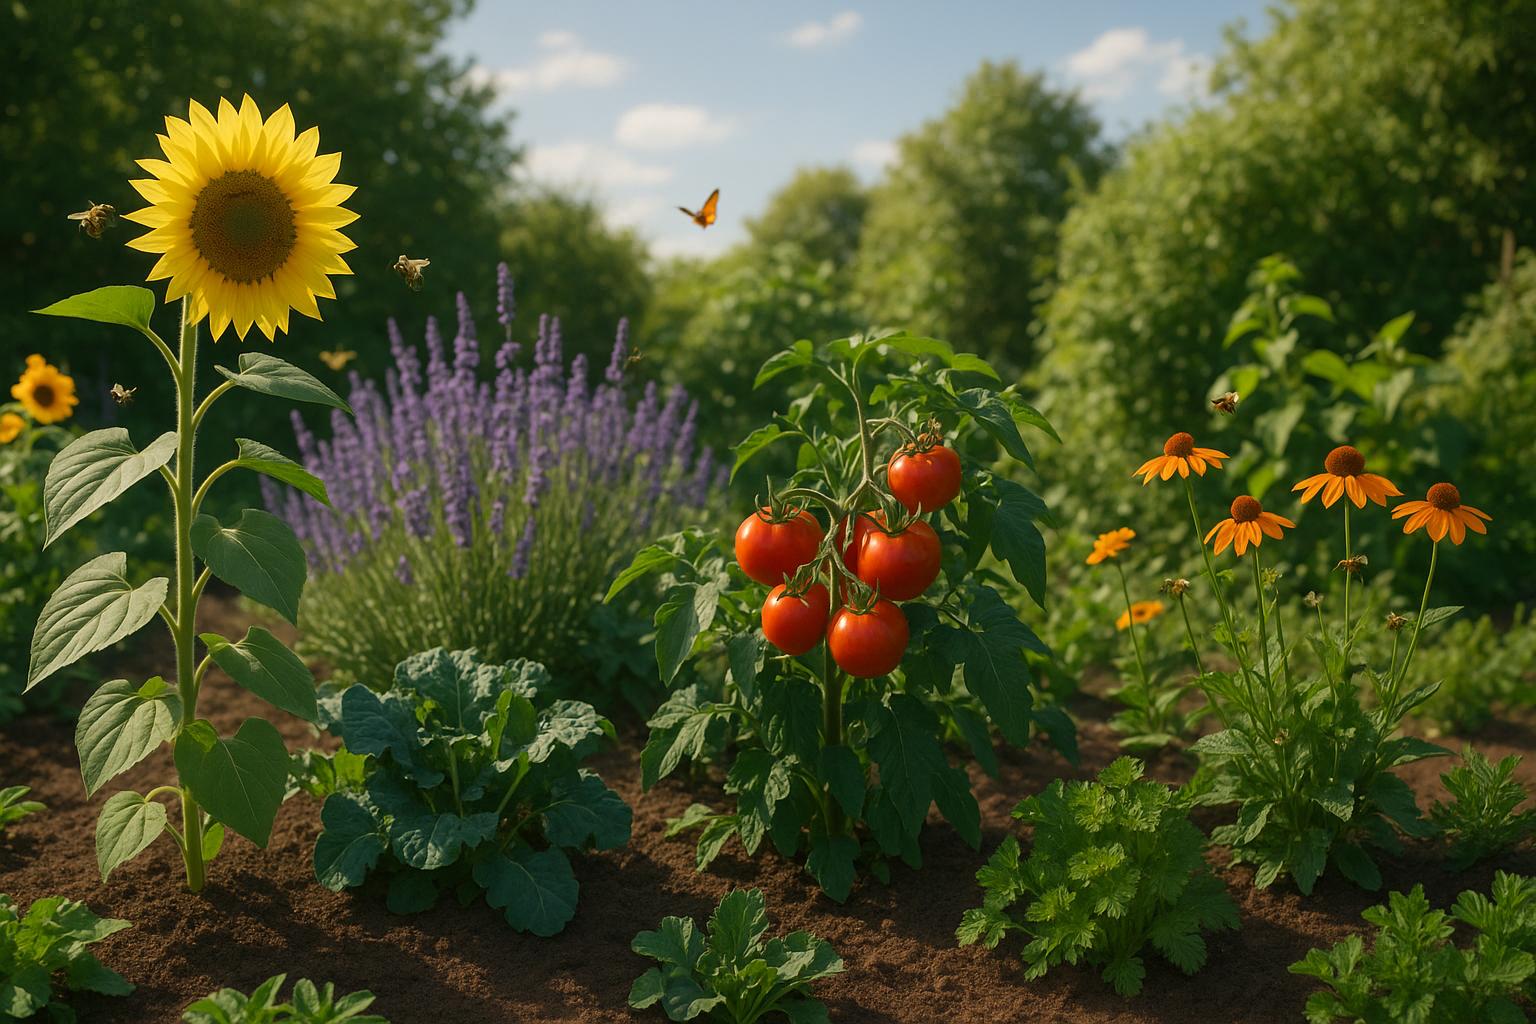
- Encourages Pollination: Attracts bees and other pollinators for better fruit and vegetable growth.
- Natural Pest Control: Welcomes predatory insects that keep harmful pests in check.
- Improves Soil Health: Supports ground-dwelling insects that enrich and aerate soil.
- Eco-Friendly Gardening: Reduces the need for synthetic pesticides and supports local wildlife.
Quick Steps to Build One:
- Choose a Spot: Place it in a sunny, sheltered area near plants and water.
- Gather Materials: Use bamboo, wood blocks, pine cones, and straw to create sections for different insects.
- Build the Frame: Create a sturdy wooden frame with compartments for various materials.
- Weatherproof It: Add a sloped roof and ensure proper drainage for durability.
Why it Matters: Insect hotels create a balanced ecosystem, supporting your garden and local wildlife while cutting down on harmful chemicals. Ready to get started? Let’s build!
How to Build a Bug Hotel: Encourage Beneficial Insects in Your Garden
Where to Put Your Insect Hotel
Picking the right spot for your insect hotel can make a big difference in attracting helpful insects and keeping them thriving in your garden. The location should take into account several factors that affect insect behavior and survival.
Sun, Shade, and Protection
Choose a spot where your insect hotel gets morning sunlight but is shaded in the afternoon by trees, walls, or fences. Keep it off damp ground and tilt it slightly forward to help rainwater drain while still allowing airflow. Also, think about how close it is to food and water sources.
Close to Plants and Water
Position your insect hotel near plants that attract pollinators, so insects can easily find nectar and pollen. Place it close to a water source but not so close that it becomes overly damp. Planting native flowers that bloom at different times of the year around your insect hotel creates an inviting space for insects to settle.
Experts from Thrive Lot - a group of small businesses focused on edible and eco-friendly landscaping - recommend adding a mix of pollinator-friendly plants around your insect hotel. This not only boosts insect activity but also helps maintain a balanced and thriving garden.
What You Need to Build It
Creating an insect hotel involves using the right materials and thoughtful design to attract helpful insects.
Materials List
Frame and Structure:
- Untreated 2×4 wooden boards for the frame
- A 24×36-inch plywood back panel
- Small screws and nails
- Wire mesh with 1/4-inch openings
- Sloped roof material (such as cedar shingles or metal sheeting)
- Natural wood preservative
Filling Materials:
- Hollow bamboo canes (0.08–0.31 inches in diameter)
- Hardwood blocks with drilled holes
- Pine cones
- Dead wood and bark
- Straw or dried grass
- Corrugated cardboard
- Clay or mud blocks with pre-made holes
Once you’ve gathered your materials, divide the hotel into sections, each tailored to meet the needs of different insects.
Spaces for Different Insects
Design your insect hotel with sections suited for various insects:
Upper Levels:
- Chambers 4–6 inches deep
- Bamboo tubes placed horizontally
- Small gaps between materials for airflow
Middle Section:
- Larger spaces filled with twigs
- Pine cones and pieces of bark
- Tunnels of different sizes to accommodate diverse species
Bottom Level:
- Logs and heavier materials
- Straw for nesting
- Open areas for movement and access
These sections will provide a welcoming environment for a range of insects.
Weather Protection
To make your insect hotel durable and weather-resistant:
- Add a sloped roof angled at 15–20° to direct water away.
- Extend roof edges 2–3 inches beyond the frame for extra coverage.
- Secure open sections with wire mesh and include drainage holes at the bottom.
- Apply a natural wood preservative to all exterior surfaces.
- Ensure all materials are tightly packed to prevent shifting.
These steps will help your insect hotel last through varying weather conditions.
sbb-itb-1d926cd
4 Steps to Build Your Hotel
Now that you've got your materials ready, let’s break down how to build your insect hotel step by step.
Step 1: Build the Frame
Start by putting together a solid frame that can handle outdoor conditions:
- Cut 2×4 boards to form a 24×36-inch rectangular frame.
- Attach a plywood back panel using 1.5-inch wood screws.
- Divide the frame into 3–4 horizontal sections using additional boards.
- Add smaller compartments within each section with vertical dividers.
- Sand all edges for a smooth finish.
Pro Tip: Pre-drill screw holes to avoid splitting the wood. Use a carpenter’s level to ensure the frame is perfectly square.
Step 2: Add Nesting Materials
Once the frame is ready, fill each section with materials suited for different insects.
Top Section:
- Bundle bamboo tubes (4–6 inches deep) and position them horizontally with the openings slightly angled downward.
- Secure the bundles with natural twine.
Middle Section:
- Layer pine cones and bark pieces.
- Add tunnels made from rolled corrugated cardboard.
- Fill any gaps with small twigs.
Bottom Section:
- Stack hardwood blocks drilled with holes (3/32 to 3/8 inch in diameter).
- Insert straw bundles for ground-dwelling insects.
- Add clay blocks with holes for mason bees.
Step 3: Set Up Your Hotel
Proper placement is key to making your insect hotel a success:
- Follow the placement tips mentioned earlier.
- Mount the hotel 3–5 feet above the ground.
- Secure it to posts or a wall using heavy-duty brackets.
- Ensure the roof overhang protects the front compartments from rain.
- Add a wire mesh across the front to keep birds from disturbing the nesting materials.
Important: Position the hotel facing southeast, as previously suggested, and double-check that it’s level to prevent water from pooling inside.
Taking Care of Your Insect Hotel
Regular Maintenance
Keeping your insect hotel in good shape ensures it stays a welcoming home for its tiny residents. Focus on these seasonal tasks:
-
Fall Tasks (October–November)
- Remove empty nesting tubes and old materials.
- Look for moisture damage and address it.
- Clean out unused sections carefully, avoiding disruption to active nests.
- Replace any damaged bamboo tubes or wood blocks.
-
Spring Prep (March–April)
- Check for any damage caused by winter weather.
- Refresh nesting materials in areas that need it.
- Inspect the roof and make sure it's still weatherproof.
- Clear debris from entrance holes to keep them accessible.
Tackle one section at a time to avoid disturbing active nests.
Observing Insect Activity
Keeping an eye on your insect hotel can reveal what works best. Try maintaining a simple log to track:
- The types of insects using different sections.
- Which materials seem most popular.
- Seasonal patterns in activity.
- Signs of successful breeding, like sealed tubes or visible cocoons.
These observations can guide your future maintenance efforts.
Solving Common Issues
Stay ahead of problems to keep your insect hotel in top shape. Here's how to handle some frequent issues:
| Problem | Signs | Solution |
|---|---|---|
| Moisture Damage | Mold or rotting wood | Extend the roof overhang, improve airflow, and replace affected parts. |
| Material Wear | Crumbling or splitting parts | Swap out worn materials with new ones as needed. |
| Pest Problems | Ant colonies or spider webs | Safely remove pests without disturbing active nests. |
Tip: Always replace materials one section at a time to avoid disrupting insect activity.
Conclusion: Next Steps
Quick Review
Here are the main takeaways:
- Pick a sunny, sheltered spot that's shielded from harsh weather.
- Use a variety of natural materials to attract different insect species.
- Make sure there's proper drainage with a roof overhang and ventilation.
- Perform maintenance in both spring and fall.
- Keep an eye on which sections draw the most insect activity.
Building an insect hotel not only gives insects a safe place to live but also helps your garden thrive naturally.
Where to Learn More
Ready to take your garden to the next level? Thrive Lot offers expert advice and services to help improve your garden's ecosystem. Their team can design, install, and maintain spaces that support bees, birds, butterflies - and even you!
"We do all the work for you. Our local providers design, install and maintain gardens and ecosystems that feed bees, birds, butterflies and you!" – Thrive Lot
With over 1.25 million square feet of transformed yards across the U.S., Thrive Lot has helped create vibrant ecosystems while conserving water and reducing CO₂ emissions.
Check out thrivelot.com to connect with local experts and build a chemical-free, eco-friendly garden.